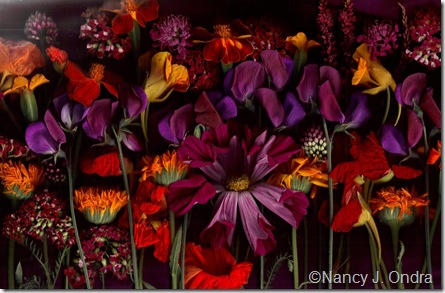
In the upcoming months, we’re planning to mix things up a little for Picture This. To that end, we’re expanding the judging pool to include some of our fellow garden bloggers, and at the same time, we’re going to showcase the out-of-the-ordinary photo techniques they are known for.
We usually don’t announce monthly Picture This themes ahead of time, but since most of you probably haven’t tried these techniques before, it seems only fair to give you some extra time to practice. One of these challenges, which will be coming up in October, is creating “bloom scans,” or digital collages.
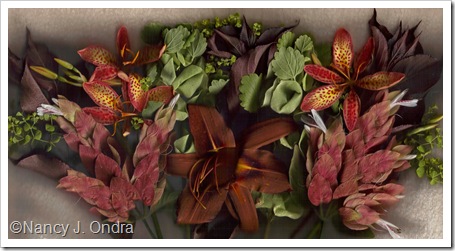
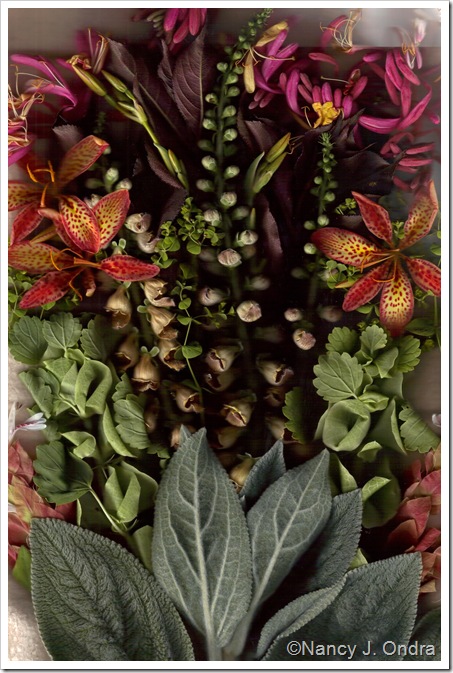
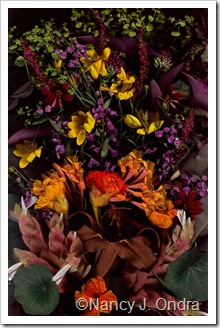
Bloom scans are a specific technique within the broader scope of technology-based artwork known variously as as digital collage, scanner art, scanner photography, scanography, or scannography. You place flowers, leaves, seeds, and other 3-dimensional objects on the glass of a flatbed scanner, then scan them just as you would a document to create a 2-dimensional image. It’s an incredibly simple technique with the potential to produce absolutely stunning results.
Those of you who have participated in Bloom Day at May Dreams Gardens on the 15th of every month have likely seen bloom scans before, thanks to Craig Cramer at the blog Ellis Hollow. Craig would be the first person to tell you that he didn’t invent the technique, but his Bloom Day scans are the first ones I ever saw, and I’ve greatly enjoyed seeing what he comes up with each month. With a little arm-twisting, Craig has agreed to be our judge for the October Picture This focusing on bloom scans.
Craig has already posted simple directions at Create a Digital Photo ‘Collage’ over at The Bulb Project. For even more in-depth info on the basic technique and the different effects you can create, check out Scanography, Scannography, and – for plant-specific directions – Patri Feher’s Flowers. For ideas and inspiration, check out Craig’s Bloom Day scans, and also the work of Ellen Hoverkamp.
I don’t know yet exactly what Craig is going to ask for, so I recommend experimenting with a variety of approaches. You can arrange the flowers and foliage in a vertical or horizontal, bouquet-like arrangement, for instance, or in geometric or abstract pattern.
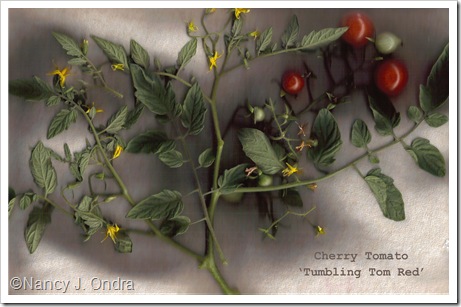
I recently had a great afternoon trying bloom scans for the first time. In about three hours, I gathered a grocery bag full of flowers and leaves, sorted them, arranged, and scanned them to make eleven images.
One thing I learned is that it’s ok if your plant bits are sort of wilted by the time you get around to putting them on the scanner. In fact, it seems to make placing them a little easier. You end up flattening them anyway if you place a background on them.
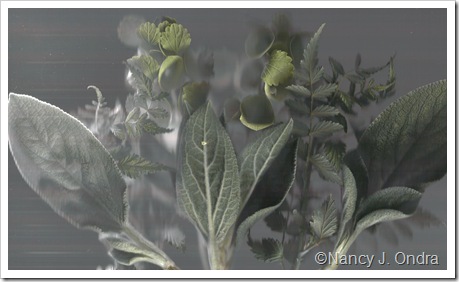
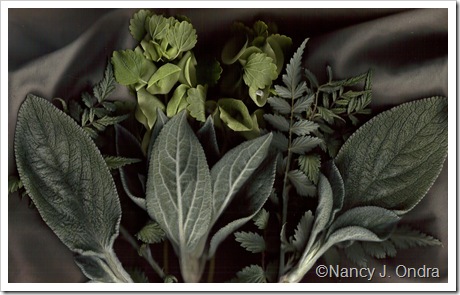
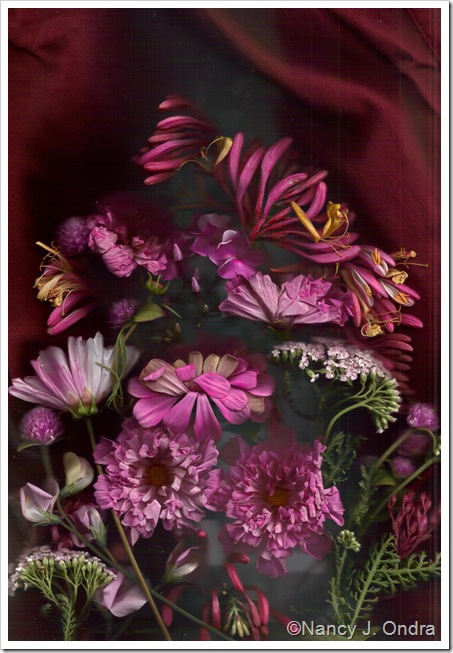
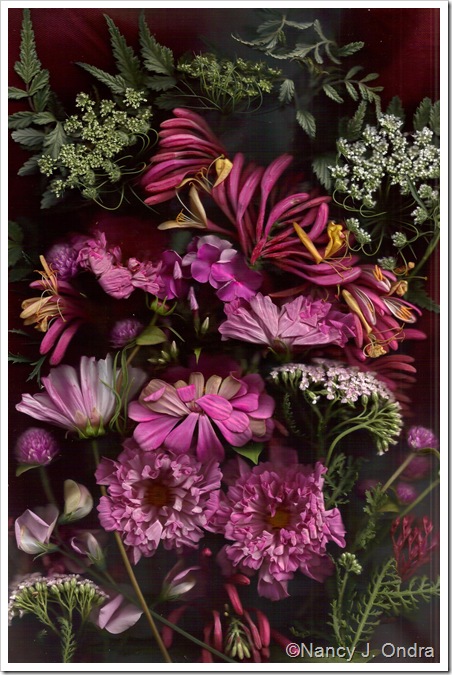
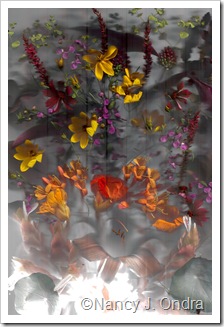
This is what happened when I tried scanning without putting on any sort of covering as a backdrop, and then with a covering.
 |
 |
Here’s another before-and-after example:
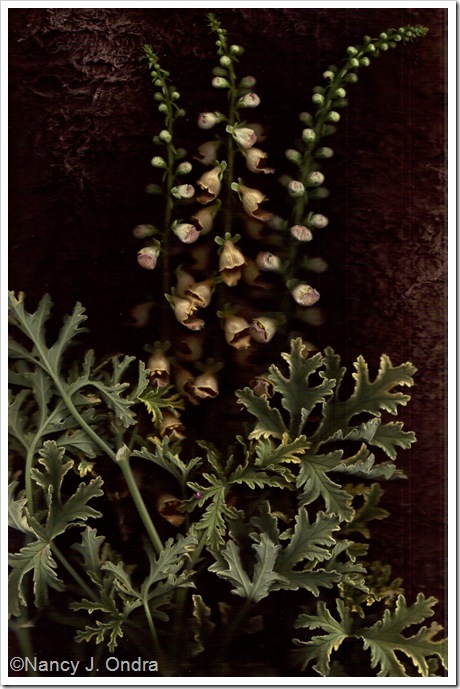
I experimented with fabrics of various colors and textures for backgrounds, including a dark brown terrycloth towel:
…and an off-white, violet, gray, and maroon shirt. Letting some of the fabric show gave a canvas-like effect to the collages.
I also tried filling the entire surface of the glass. In that case, the background didn’t show much, but it served the purpose of pressing down on the leaves and flowers.
A couple more things:
- Look for leaves and flowers that are free of damage or insects. Spots and dead bits show up dramatically in the final image. Any insects clinging to the parts will also show up, which can be cool, but you’ll end up with them all over your scanner and office (trust me on this).
- Keep in mind that you need to place the foreground items first, then build up the background, because you’re basically building an image in reverse. That also means that in most cases, the leaves and flowers need to be face-down on the glass, not right-side-up.
- Feel free to work in rocks, feathers, shells, bark, and other non-living elements, but place them carefully; if you scratch the glass of your scanner, the imperfection will show up on your images, and on any documents you scan later.
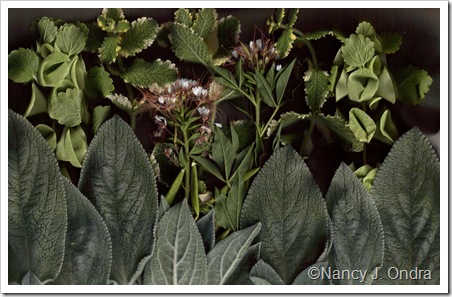
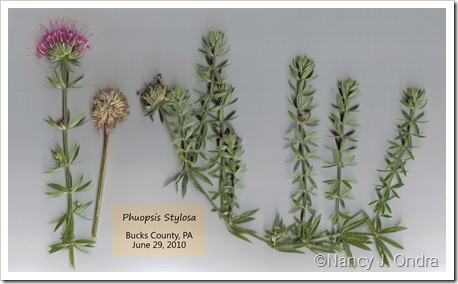
- Try out different themes for your collages: by color, for instance, or all edibles, or all seeds, or all petals. Or use single or multiple parts of just one plant to create a silhouette or herbarium mount-like effect. (To learn the basic how-to of herbarium mounts, check out this video on YouTube: Herbarium Mount.) I used Photoshop Elements to add the labels to these.
Now, it’s your turn. If it’s too hot (or too cold, or too rainy) to work outside, just pop out to collect a variety of materials and bring them inside so you can work comfortably indoors. It’s a wonderful way to spend a few hours!

