Want a tip on how to take good garden pictures ? Pick up your camera and go out into a garden. You can’t get good pictures if you don’t take any pictures. Put yourself in a position to make something happen.
April 2 was a day to take photos in my own garden. It was overcast and still – a gift for a garden photographer. A day to ignore computer deadlines and take pictures. There have been too many times I regretted missing this sort of opportunity, and spring was calling.
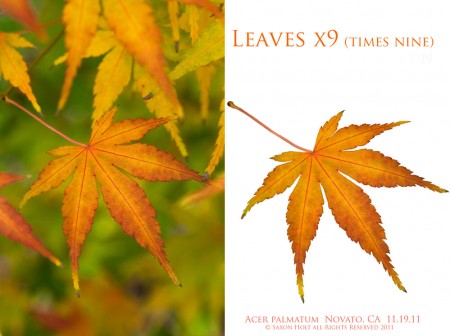
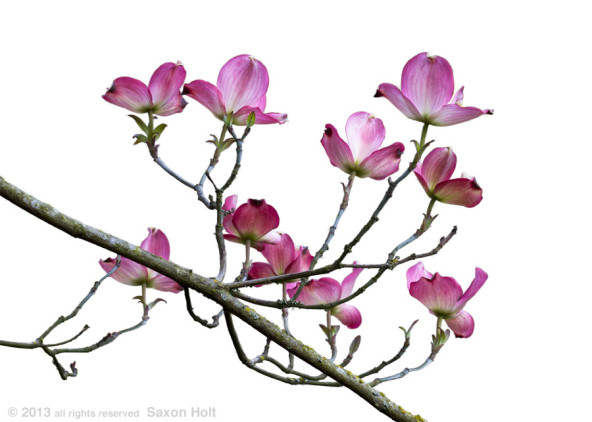
Since the wind was so calm, this was a day to make silhouettes, an ongoing project I call photobotanics. I am a big fan of botanic illustrations and am working on a series of prints that I make in the garden, as opposed to those made in the studio. Gardening Gone Wild readers might remember a photobotanic series I did on November 19, 2011, a series of leaves in my garden that one day that I posted as Leaf Quiz:
So on this spring day, April 2, I set out to find nine flowers. I find it really useful to have a purpose, a theme, or a story to tell when I venture out with my camera, and made this day an excuse to hunt for flowers – with photobotanics in mind. Would the wind stay calm ?
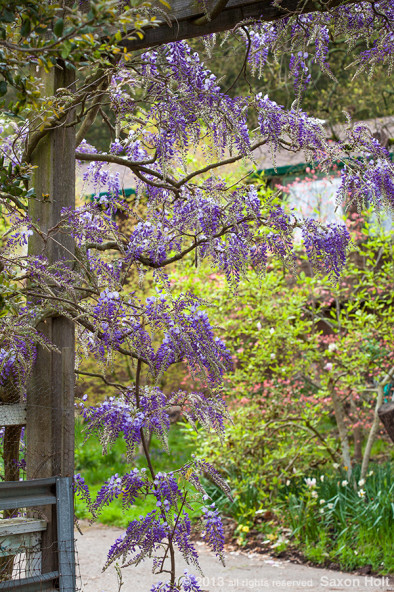
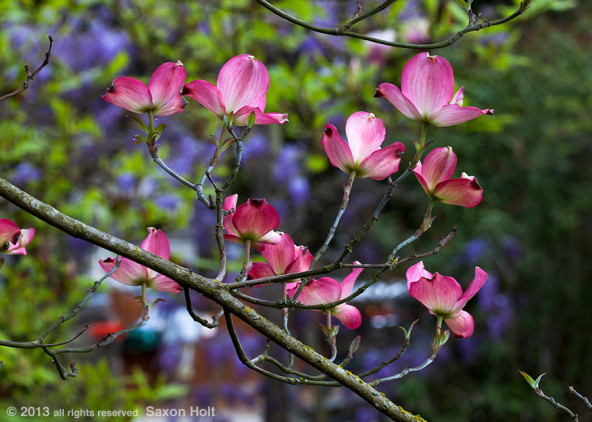
I found myself studying the dogwood ‘Cherokee Chief’ trying to find an angle where a branch with flowers could be outlined. (As an aside, note the blue in the background is the wisteria at my entry gate. Can you see the little specs of pink in that first shot?)
To make the photobotanic silhouette I use a masking filter in PhotoShop called Topaz Remask3. It can be a tedious process to get razor clean edges but well worth the effort.
This post is not going to be a tutorial on the technique, but a lesson on finding images that will work. The story is finding the images that meet the criteria. And besides, the process is so labor intensive, it will be months before I do more than the dogwood,
Knowing what I was looking for forced me to see things in two dimensions, as graphics that would become illustrations. I needs a very “dull” angle, one that wants uniform sharpness across the plane left to right, not depth front to back. The less sharp the distance, the easier it will be to mask it out the background later.
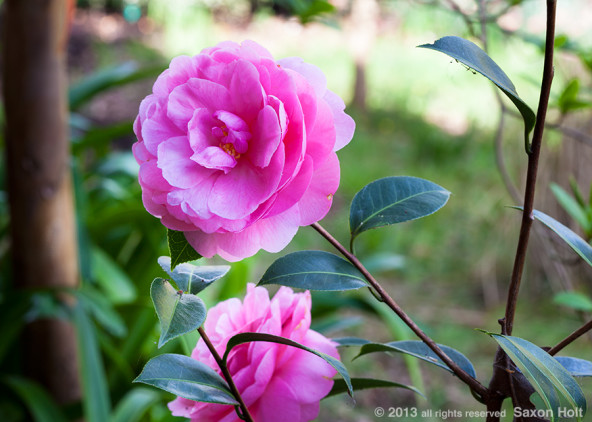
Onward for photos. My Camellia japonicas have started to bloom (just as the C. sasanquas quit). This small branch with a single blossom and a couple of small leaves will make a fine silhouette.
For all these studies, it is important to find an angle that will include some of the stem or branch; and hopefully a leaf or two. But key is to come straight onto the subject and make it parallel to the camera to accent the graphic shape.
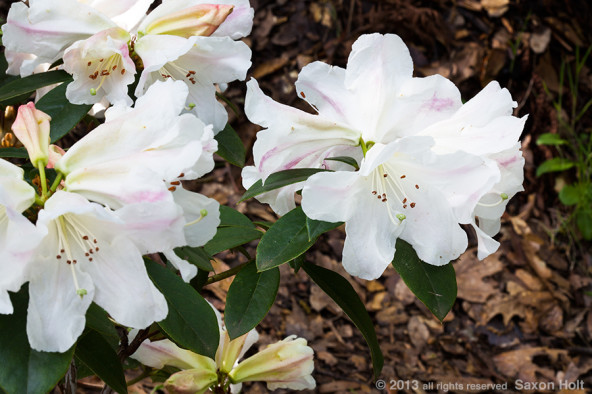
Ever since my first garden book, “All About Rhododendrons, Camellias, and Azaleas” for Ortho Books in 1986 I have had a weakness for Rhododendrons. It was then I worked with the legendary John Evans and he gave me the fragrant R. taronense ‘Evans’ he collected in Asia. It was blooming April 2. It’s gotta be a photobotanic:
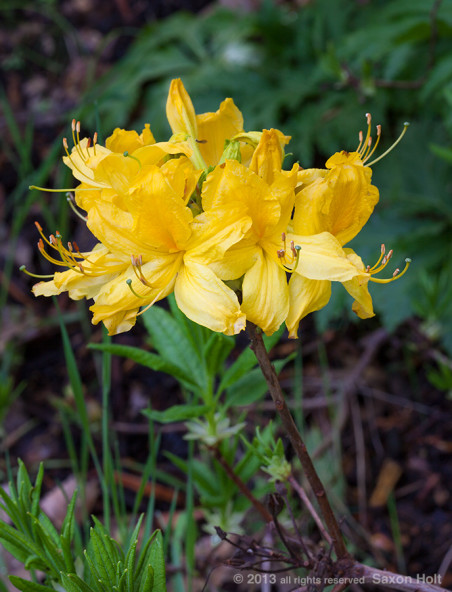
There are 5 other species Rhododendron blooming this day, all are white, so I picked the only one that is not fragrant, R. calendulaceum ‘Flame’ native to the U.S. South East:
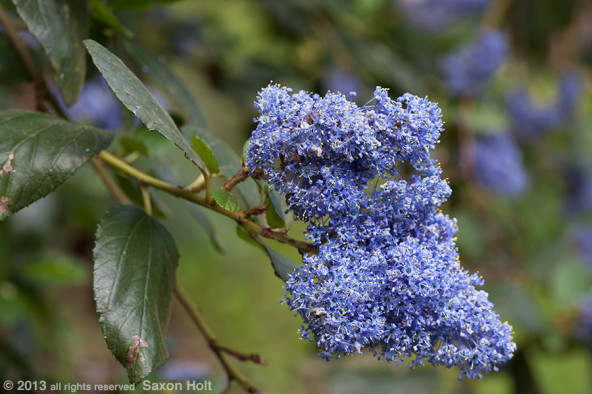
Moving quickly now. Worried that the wind will pick up. I begin to see the cloudy day get brighter. I must get a California native to represent this day. The Ribes are almost done but Ceanothus ‘Ray Hartman’ is glorious.
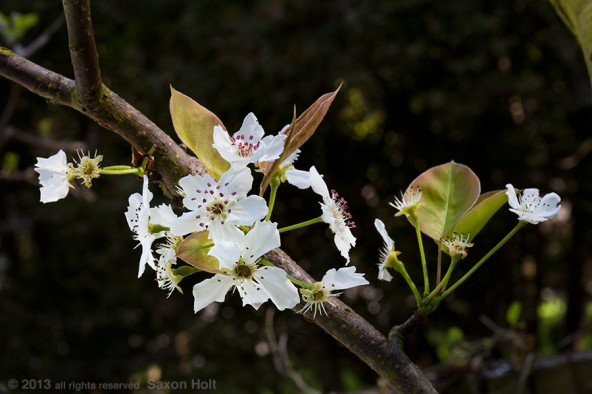
I love the Asian Pear when it blooms. The flower anthers are purple and the emerging leaves are brassy. Worthy of a botanic illustration. I already see this silhouette, similar to the ‘Cherokee Chief’ dogwood.
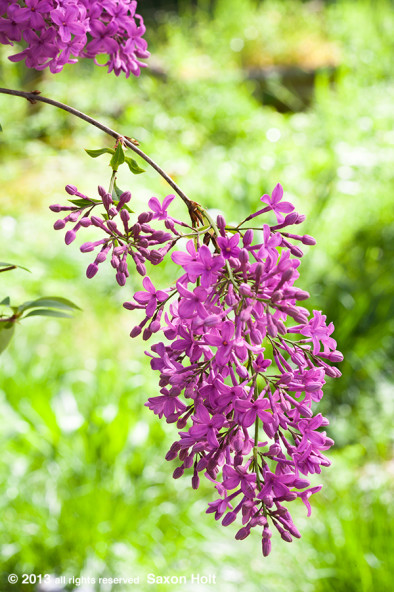
Finally, as the sun comes out the Lilac. These blooms are still in shade so the sunny background makes it easy to see the silhouette potential.
OK; that was April 2 in my garden. Can’t wait to make the silhouettes. What is your excuse to go make some photos ? (Stay tuned for more lessons from the e-book; and excuses to go make photos in the garden.)

