Several years ago, I met artist Diane Palley McDonald while doing an article about her studio’s makeover for the San Diego Union-Tribune. (The news angle was that it was on HGTV’s “Designer’s Challenge.”) When I saw Diane’s paintings, I wistfully told her how much I loved watercolors. She asked, “Well, then, why not paint your own?” I said I couldn’t possibly, being too old to learn and too busy. She showed me paintings by her students—adults who’d never before taken a class and were convinced they had no artistic ability. They were amazing! Diane graciously invited me to attend a class, and I ended up taking a dozen. Since most of my subjects are garden-related, and you might want to paint your own flowers and plants, here’s what I learned.
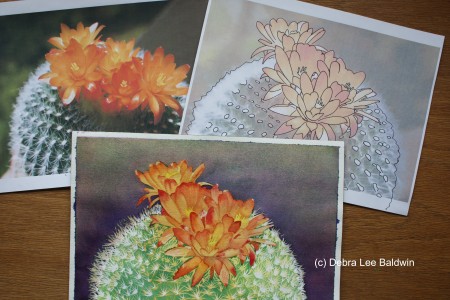
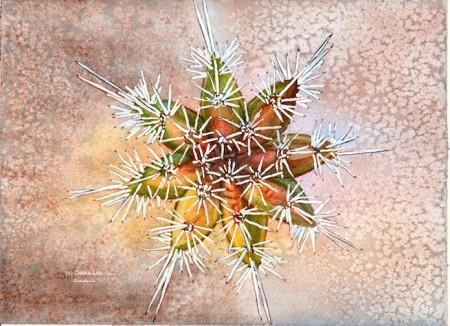
(1) If you dislike having to draw, trace. Tracing enables me to paint almost from the get-go, and to quickly start over if I mess up. Begin by selecting a photo that inspires you, ideally with with simple lines and not a lot of fussy details. (OK, the one shown here has fussy details, but I’ll soon explain how I painted them.)
Print the photo on 8-1/2 by 11 paper so you have it to refer to. Print out a second copy on your printer’s “draft mode” so the image is muted. Using a black pen or soft-lead pencil, outline the picture’s main components so it looks like a page from a coloring book. Put the outlined photo on a light table or against a sunny window, and tape a piece of watercolor paper over it (I use Arches 140-lb cold press). Using a pencil, lightly trace the coloring-book lines onto the watercolor paper. Then, to keep it from buckling while you’re painting, tape the watercolor paper to a thick rectangle of cardboard or something similarly flat and portable.
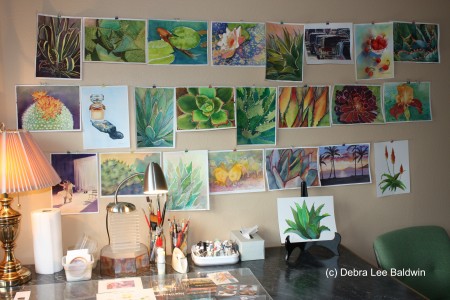
(2) Paint near a large window for good light. If I must paint at night, I turn on two lamps. Finished paintings hang on wires stretched along a wall, not so much to let the paintings dry, but because I want to look at them. What’s the point of doing a painting if it sits in a drawer until someone gets around to framing it? (Which is never.)
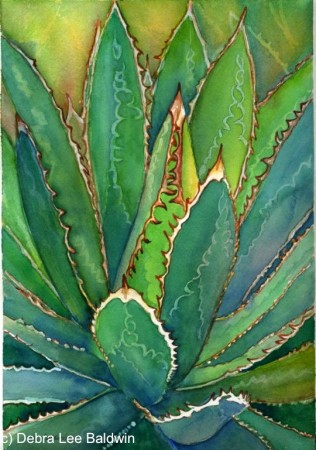
Materials include tubes of watercolor paint in primary colors, cool and warm; a plastic palette with areas for paint and mixing it; several containers to hold clean water; paper towels for blotting; various-sized, good-quality artist’s brushes; a few inexpensive brushes; an eraser; masking fluid; and a bar of soap. Those last three enable me to reserve the white of the paper, which is how I painted the spines of the cactus above.
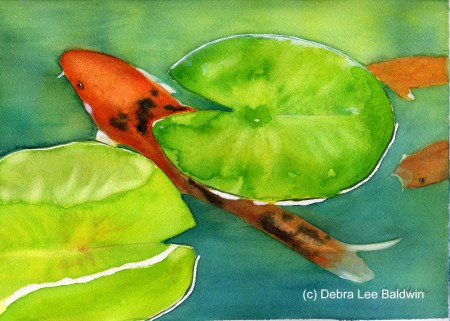
This koi-pond painting also illustrates “reserving the white of the paper.” Before applying any color, I painted the bright white of sun shining on water—but not with white paint, which looks dull and chalky. The beauty of watercolors is their translucency—the way they seem to glow with light. That “light” is the paper beneath the paint. It’s a pain to try to keep juicy washes of color out of areas you want to keep white. So, (3) brush masking fluid where you don’t want paint to go. Then you can slather on paint, concentrating on creating swaths of color. Apply the masking fluid (also called frisket) with a cheap brush, coating the bristles first with soapy water so they don’t stick together. When the painting is dry, remove the rubbery mask with an art eraser.
Look at my cactus painting again, and you’ll see how much masking I did before painting with color.
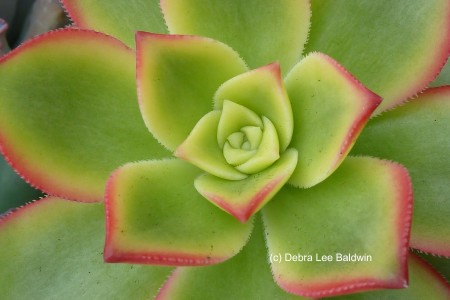
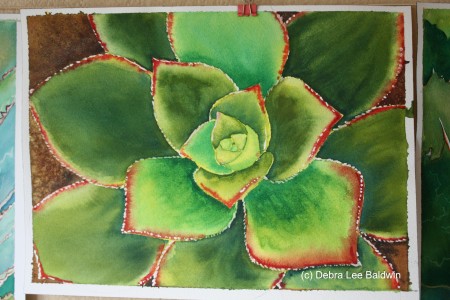
After doing no watercolors for nearly a year, I did three paintings in one day to complete my Succulents 2012 Watercolor Calendar. To ease back into painting, I began with a simple Aeonium ‘Kiwi’ rosette. I didn’t want to paint every bit of fringe on the leaf margins, but they’re important, so I masked a few to suggest the rest. The first wash was yellow, a color found in both the red and the green of the leaves.
(4) Let the painting dry before adding complimentary colors. After painting the green, in order to not muddy the colors, I let the paper dry completely before adding any red.
(5) Let the paint do its thing. To get the red to spread organically, as though in the plant’s cells, I first brushed clear water on the leaf margins. Then, before it dried but while the paper was still moist, I dabbed those areas with undiluted red paint. Voila: the color spread and the margins painted themselves.
(6) Use salt to create indistinct backgrounds. Sprinkle a wet wash with kosher salt. As the grains wick color from the top layer of paint, they’ll reveal the underlying color.

This makes wonderfully mottled, snowflake-like bursts, as in this painting of a bearded iris.
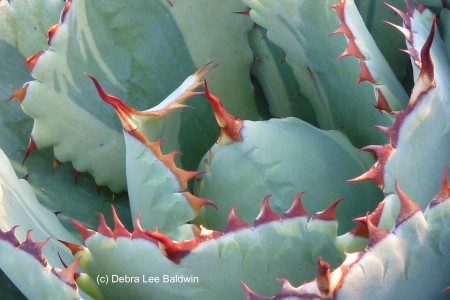
Another subject for the calendar, an agave, had an unusual variegation. Getting that to “read” correctly in a watercolor is beyond my skill level. Yet I loved the agave’s blue-green leaves and red teeth, so I decided to play them up, as well as the subtle indentations that the teeth made on inner leaves. So, (7) have fun experimenting with color. The worst that can happen is you’ll have to start over.

I did three versions of “Fred and Audrey” before I got one this one.
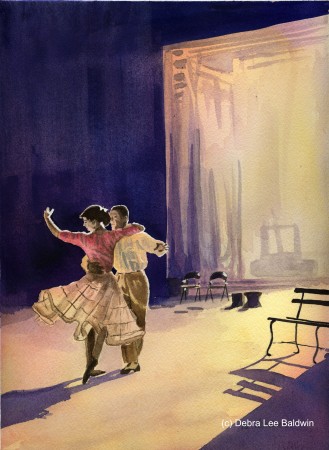
So, do you now know how I painted Miss December?
My goal is to share the beauty of waterwise, easy-care succulents in gardens, containers and landscapes via blog posts, newsletters, public speaking and workshops, photos, videos, merchandise, and social media (Facebook and Pinterest). My books: Designing with Succulents, Succulent Container Gardens, and Succulents Simplified. www.debraleebaldwin.com
